There are four steps to add a jQuery slider created with Amazing Slider to your Dreamweaver website.
Step 1 – Create the jQuery slider in Amazing Slider
Step 2 – Publish the jQuery slider to an empty test folder on your local hard disk
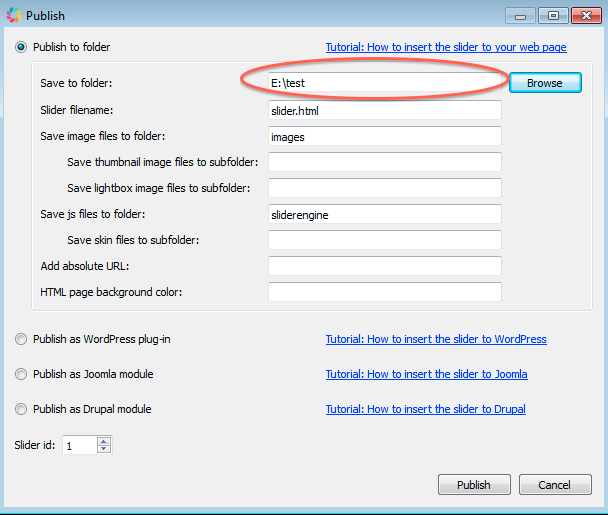
In the Publish dialog, select the option Publish to folder, then click Browse and choose a folder to save the jQuery slider files. It’s better if you can create an empty folder for this purpose, so you will know which files are created by the software.
Step 3 – Copy all of generated files to your Dreamweaver website folder, same folder as your webpage
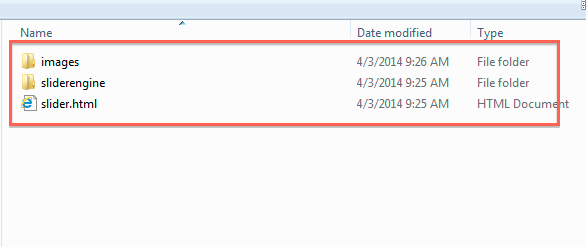
Copy all of the generated files to your Dreamweaver website folder, same folder as the webpage that you want to display the jQuery slider. You need to copy all of the generated files, including the sub-folders images and sliderengine.
Step 4 – Copy HTML codes to your webpage
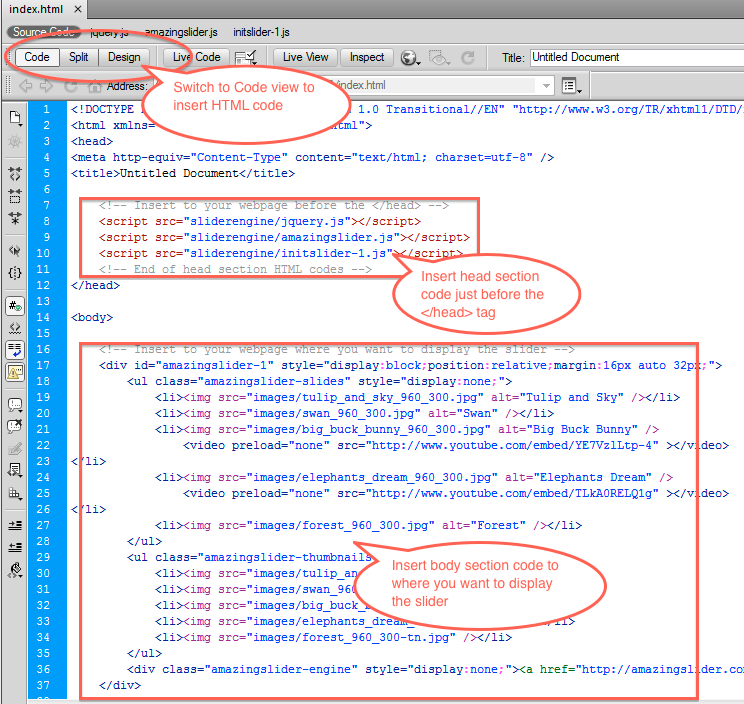
In Dreamweaver, open your webpage, then switch to Code view.
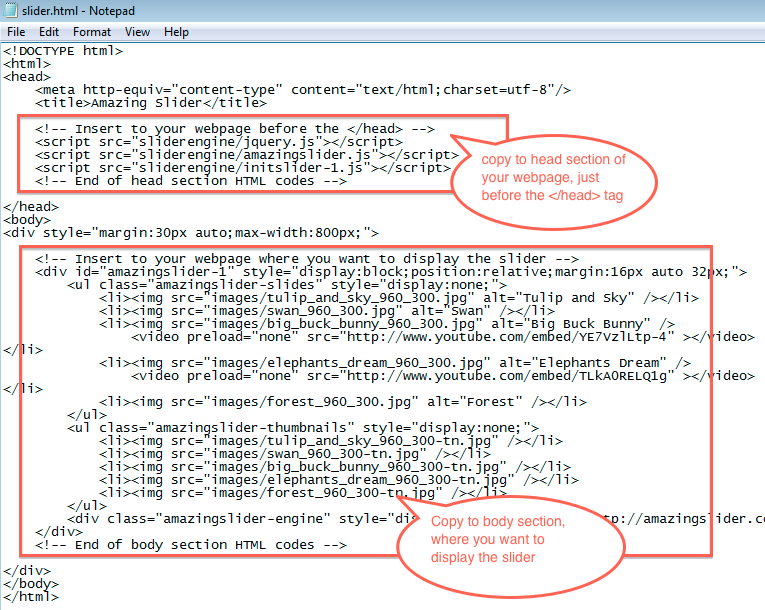
Open the generated slider.html with a text editor, for example, Notepad. Copy the code snippet in the head section to the head section of your webpage, just before the tag.
Copy the code snippet in the body section to the body section of your webpage, where you want to display the jQuery slider.