This tutorial will show you how to create a responsive YouTube Video Gallery with Amazing Slider.
An online demo created with this tutorial is at jQuery Responsive YouTube Video Gallery.
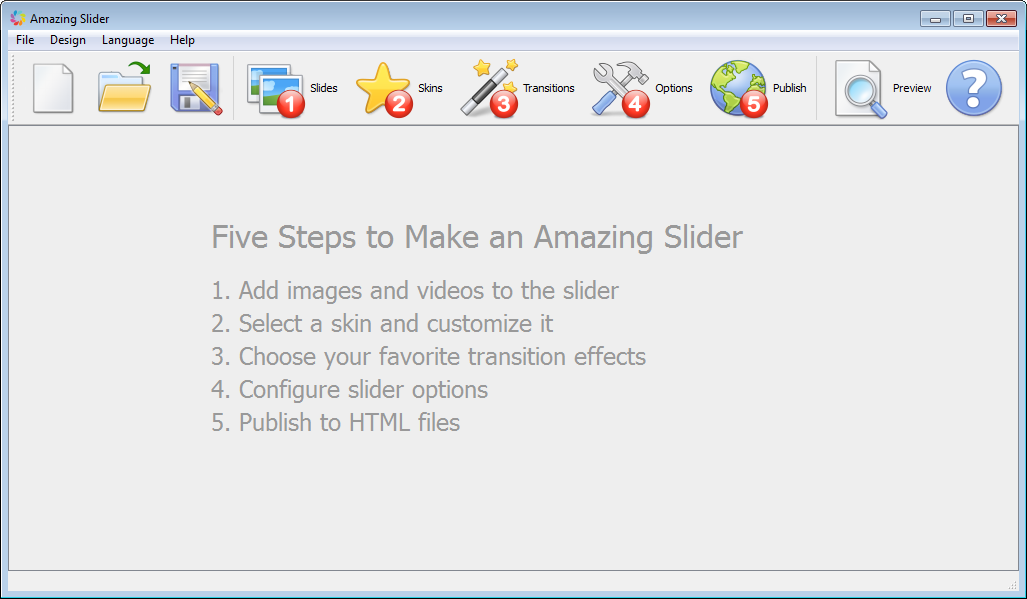
Overview – The Main Dialog of Amazing Slider
With a wizard style, self-explanatory user interface, Amazing Slider is extremely easy-to-use.

Step 1 – Add YouTube Videos
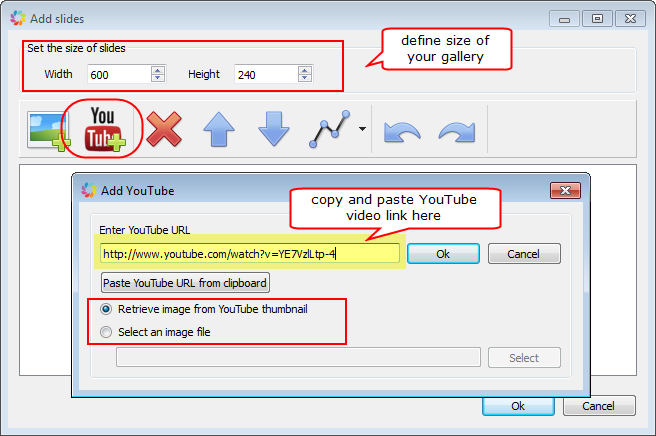
Click the Step 1 button on the main navigation bar, in the Add slides dialog, you can define size of the Gallery. Then you can click the YouTube button to add a YouTube video. You can choose a thumbnail image from YouTube or you can select a local image file.

Step 2 – Choose a skin and further customise it (optional)

Step 3 – Choose transition effects and further customise them (optional)

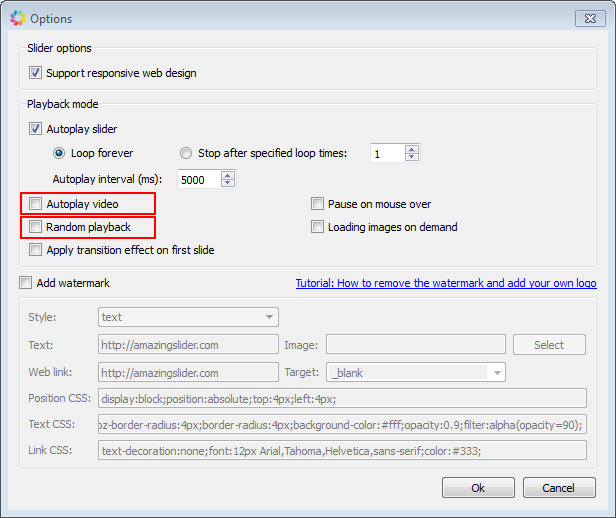
Step 4 – (Optional) Configure gallery options

Last Step – Publish the YouTube Video Gallery
In last step, you can publish the gallery to HTML files which can be easily inserted to Dreamweaver, Frontpage and other HTML editors. Or you can create the gallery as a WordPress Slider Plugin.
For how to insert the gallery into your HTML editor or WordPress website, please view tutorials:
- How to insert jQuery Slider to web page
- How to insert multiple jQuery Sliders to one web page
- How to create WordPress jQuery Slider

